The Light and Versatile Graphics Library (LVGL) is a free, open-source graphics library providing everything you need to create embedded GUIs with easy-to-use graphical elements, beautiful visual effects, and a low memory footprint. Originally designed for microcontrollers and embedded systems, LVGL can also be run on PCs for simulation purposes, making it incredibly useful for developers wanting to write and test their code on a PC before transferring it to an embedded system. Additionally, the PC application can be distributed to team members for easy evaluation of the GUI prior to the custom HMI hardware being ready. In this blog post, we'll guide you through a unique approach to setting up a LVGL simulator on your Windows PC using MSYS2.
Background
The simulator we're going to set up is adapted from an example provided by LVGL at their GitHub repository. It demonstrates how to run LVGL on a PC, allowing you to develop and test your applications without needing any embedded hardware. This approach not only speeds up the development process but also enables easier debugging and testing of your applications.
Setting Up Your Environment
To run the simulator, you'll need Visual Studio Code (VSCode) and CMake. The default project is configured to build on both Linux and MacOS, but for this guide, we'll focus on building this project for Windows.
Install MSYS2
The first step is to download and install MSYS2 from their website. MSYS2 is a software distribution and building platform for Windows based on MinGW and Cygwin. It provides a Unix-like environment on Windows and a package management system for installing Unix software.
Launch MSYS2 MINGW64
After installing MSYS2, open the MSYS2 MINGW64 app from your Start menu. This application provides a terminal where you can install the necessary packages.
Install required packages
In the MSYS2 MINGW64 terminal, you'll need to execute a series of commands to update the package database and install the required packages. Run the following commands one by one:
pacman -Syu
pacman -S mingw-w64-x86_64-gcc
pacman -S mingw-w64-x86_64-cmake
pacman -S mingw-w64-x86_64-SDL2
pacman -S mingw-w64-x86_64-gdb
These commands install the MinGW-w64 GCC (C/C++ compiler), CMake (open-source, cross-platform build system), SDL2 (used for rendering the LVGL graphics on your PC), and GDB (GNU Debugger) packages.
Update your PATH
To make the installed tools accessible from the command line, add C:\msys64\mingw64\bin to your system's PATH environment variable. This step ensures that VSCode and other applications can find and use these tools.
Clone the project from GitHub
To ensure a smooth experience, there were a few changes that needed to be made to the default LVGL PC port example project. I have made those modifications and committed them to this forked git repository. This demo assumes that you are using this repository.
Please check out the following repository using git.
https://github.com/eddie-hunckler-dmc/lv_port_pc_vscode
If you have git installed on your system, you can use the following command:
git clone --recursive https://github.com/eddie-hunckler-dmc/lv_port_pc_vscode
Setting Up VSCode
Launch VSCode by double-clicking the `simulator.code-workspace` within the `lv_port_pc_vscode` directory. This will properly set up the workspace with the build and debug tools that were just installed.
Additionally, there are two VSCode extensions that you will need to install: CMake Tools and C/C++. These are both the official Microsoft extensions. Install these in the Extensions tab of VSCode and enable them.
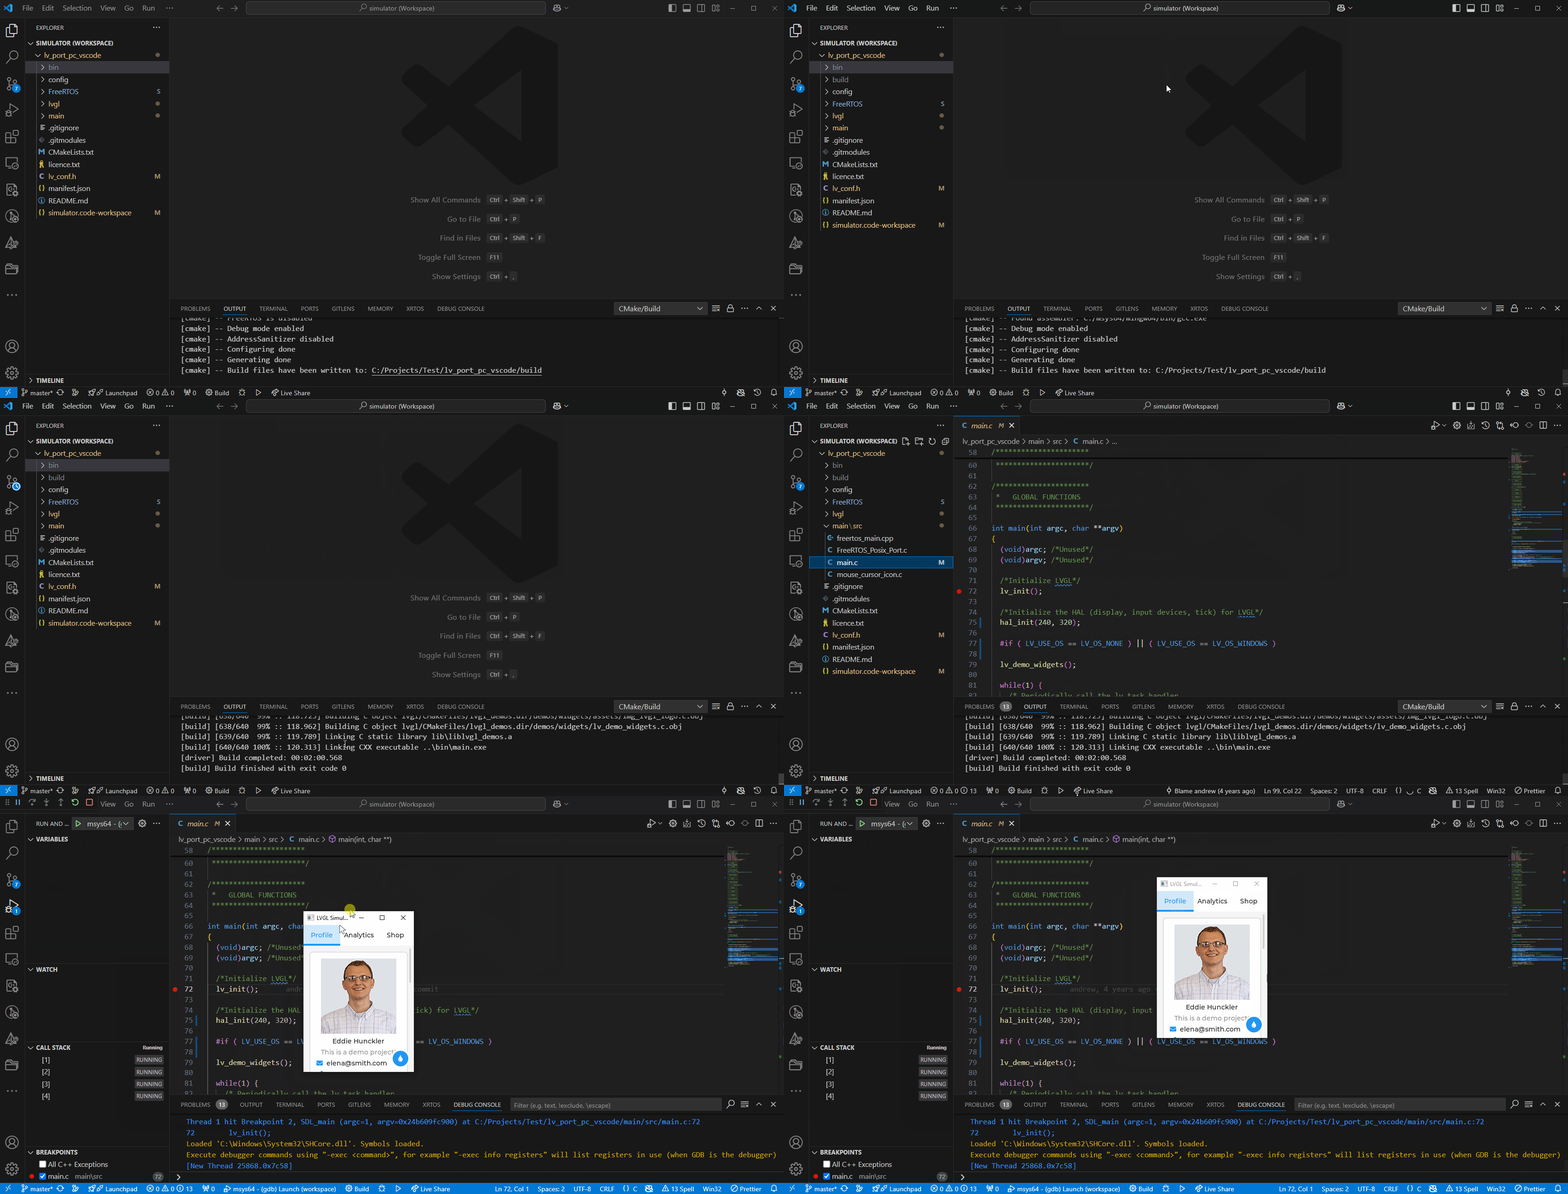
Finally, with all the required tools installed and configured, you can use VSCode to configure, build, run, and debug the LVGL application. See the recording below for an example of how to do this.

Conclusion
By following these steps, you've successfully set up a LVGL simulator on your Windows PC using MSYS2. This setup allows you to develop and test LVGL applications on your PC, significantly speeding up the development process. The code you write and test on your PC can later be transferred to an embedded system with minimal adjustments, making it a highly efficient way to develop embedded GUI applications.

Happy coding and enjoy exploring the capabilities of LVGL on your Windows PC!
Learn more about DMC's Embedded User Interface Design services and contact us for your next project!