At DMC Chicago's holiday party, a bunch of us started talking about audio systems. After I explained how I build them for fun, some folks asked if they could come to the shop and make some. Since DMCers love to learn for fun, we decided it would be a perfect activity fund event.
The Design
Activity fund events at DMC are monthly budgets for employees to plan fun teambuilding events. For this event, we purchased supplies for 30 people to attend in addition to our four Fabrication Studio staff. After hours of driver selection and audio engineering I had a design. I put together a two-way reference speaker kit including drivers, crossover components, screws, nuts, nails, glue, and wood.
I designed the build around the Dayton Audio TCP-115-8 4” woofer. It has high excursion, and I wanted this thing to thump. In my opinion, it's not worth doing without bass so the entire design had to hit low. My plan was to deliver and show off what I was capable of.
Choosing the tweeter was difficult. Finding something within the budget that would play nice with the woofer turned out to be a challenge. I went through eight tweeters before eventually landing on the Dayton Audio ND25FA-4 1” tweeter. Supposedly this thing punches way above its price range, and we were not disappointed.
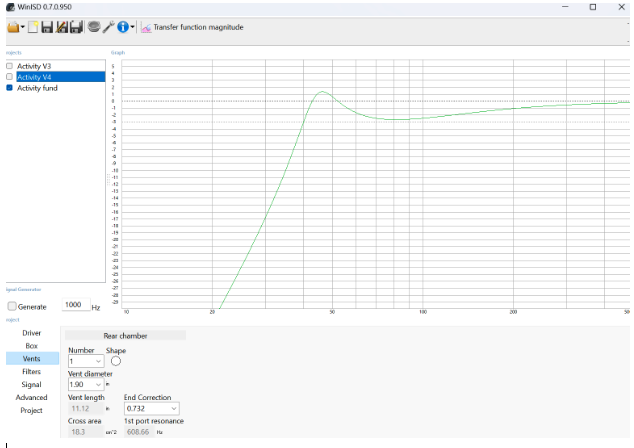
I designed the box around the woofer. My main goal was to get it down to 40 Hz. I wanted the bass. As you can see from this graph, I got all the bass. This Dayton 4” woofer is quite impressive. I lost control of the cone a bit, but I think it was worth it.
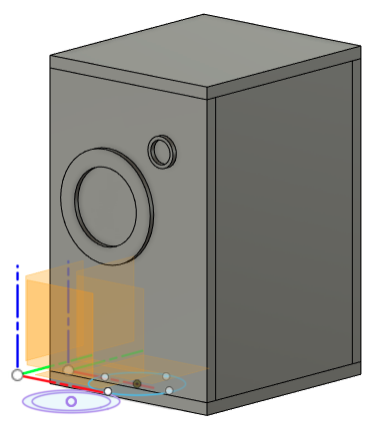
The box itself had to be designed so that it could be easily, and quickly, slapped together where a router could clean up the edges in short order. I laid it out in this fashion.
This design required a very large and long, port which I 3D printed out of ASA filament. We ran a set before leaving the shop each day and let them print overnight.

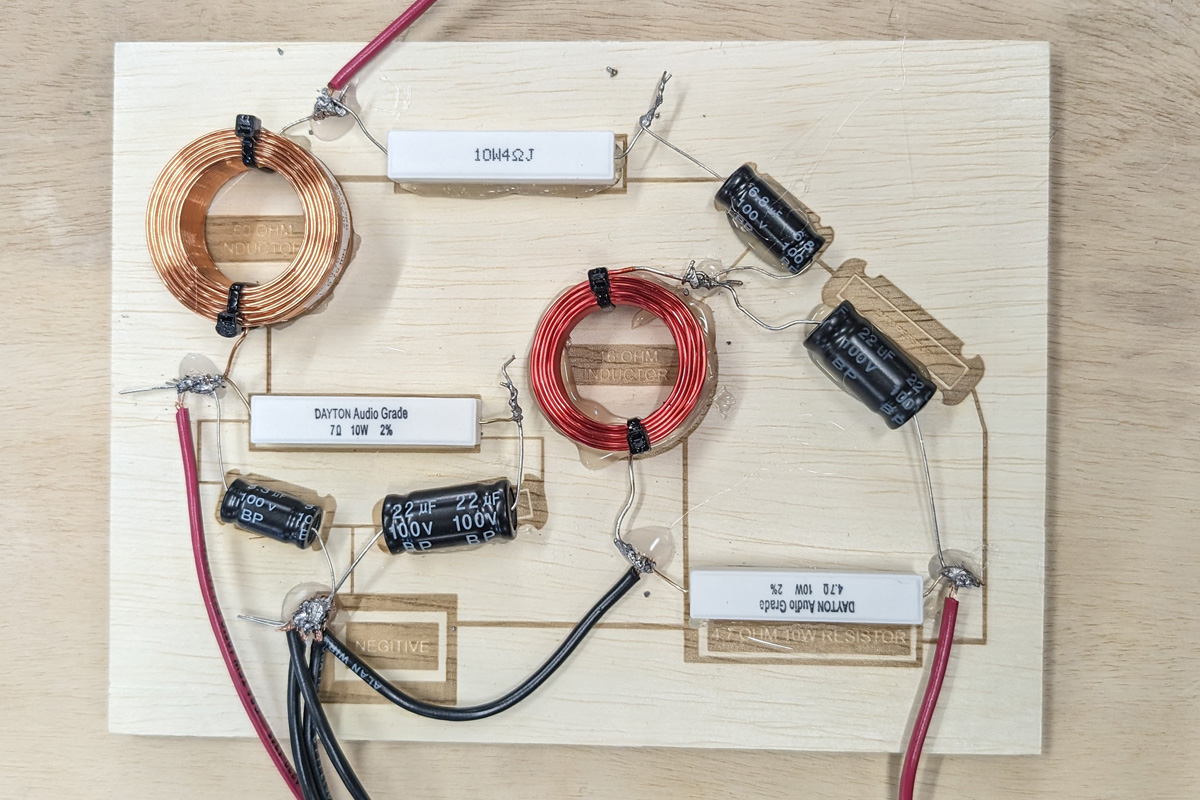
Building the crossover was its own challenge. I am used to using higher-end drivers and having a larger selection that comes with a larger budget. I quickly realized that I had to limit the number of inductors used. An inductor costs $5-8. Multiply that by 35 units and you’ve taken a $250 chunk out of your budget. Capacitors and resistors on the other hand, only cost $1 so I could go crazy with those.
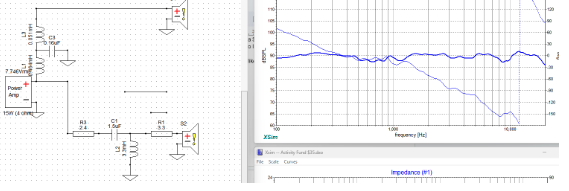
The resulting crossover ended up looking like this along with this frequency response. This is version eight actually. Let's not talk about those other seven versions...
Then, I needed some help. My impedance was going crazy, and I had no way to compensate for the baffle. After 30 hours of engineering, I went to the DIYAUDIO.com forums where some very kind people helped me out. I modified my crossover a bit and fixed up my driver frequency responses to compensate for the baffle. Huge shoutout to those who helped! This design would never have been as polished without them. The internet is a kind place if you know where to look.
After all of that my crossover and frequency response looked much better.
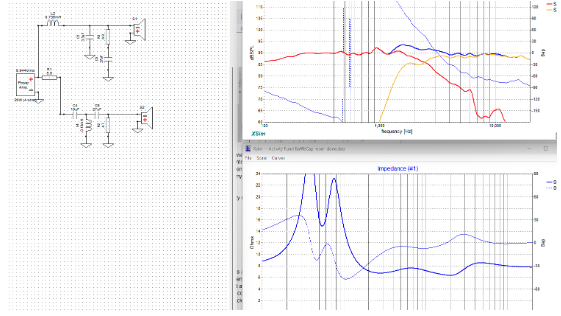
It looked great except for impedance rise at the low end, but I would rather have the bass and lose control of it than not have it at all.
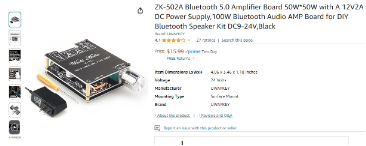
The last thing I had to find was a cost-effective amplifier. The requirements were 20-watt output at the impedance load of the drivers, Bluetooth, an AUX port, and a power supply. I didn’t have much money left in the budget, but I found some on Amazon. Incredibly, they performed flawlessly and put out their rated power.
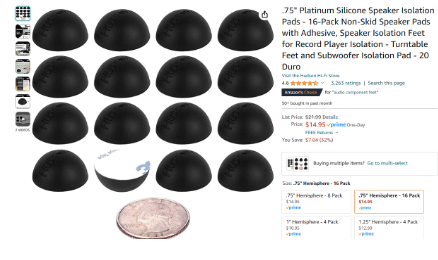
I had a bit of money left for some feet. I knew these were going to hit low, so I ordered some sticky feet so the speakers wouldn't vibrate.
The Assembly
The next step was explaining to my activity fund event attendees how all of this worked. I made a PowerPoint presentation but that didn't explain it all—people need to actually hear the difference. I wired up my speaker with a switch so I could switch the music to just the woofer, then just the tweeter, then the tweeter and woofer run full range, and finally ran the signal through the crossover which balances the system. This turned out to be a fun way to demonstrate how different drivers perform and what the crossover does.
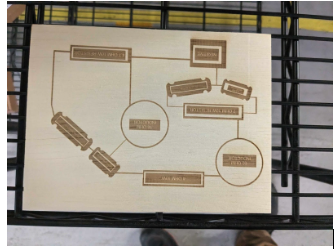
We wanted to make the workshop easy on our attendees, who had little experience with soldering, wiring, and woodwork. Before the event, we timed how long it took each of the shop staff to put together a crossover We knew their ten-minute result was biased so we had an employee with no soldering experience make one. It took him over 40 minutes. We simplified the process by laser engraving the backs of the crossover board and printed out pictures. We also precut the wires and made wire labels for everyone.
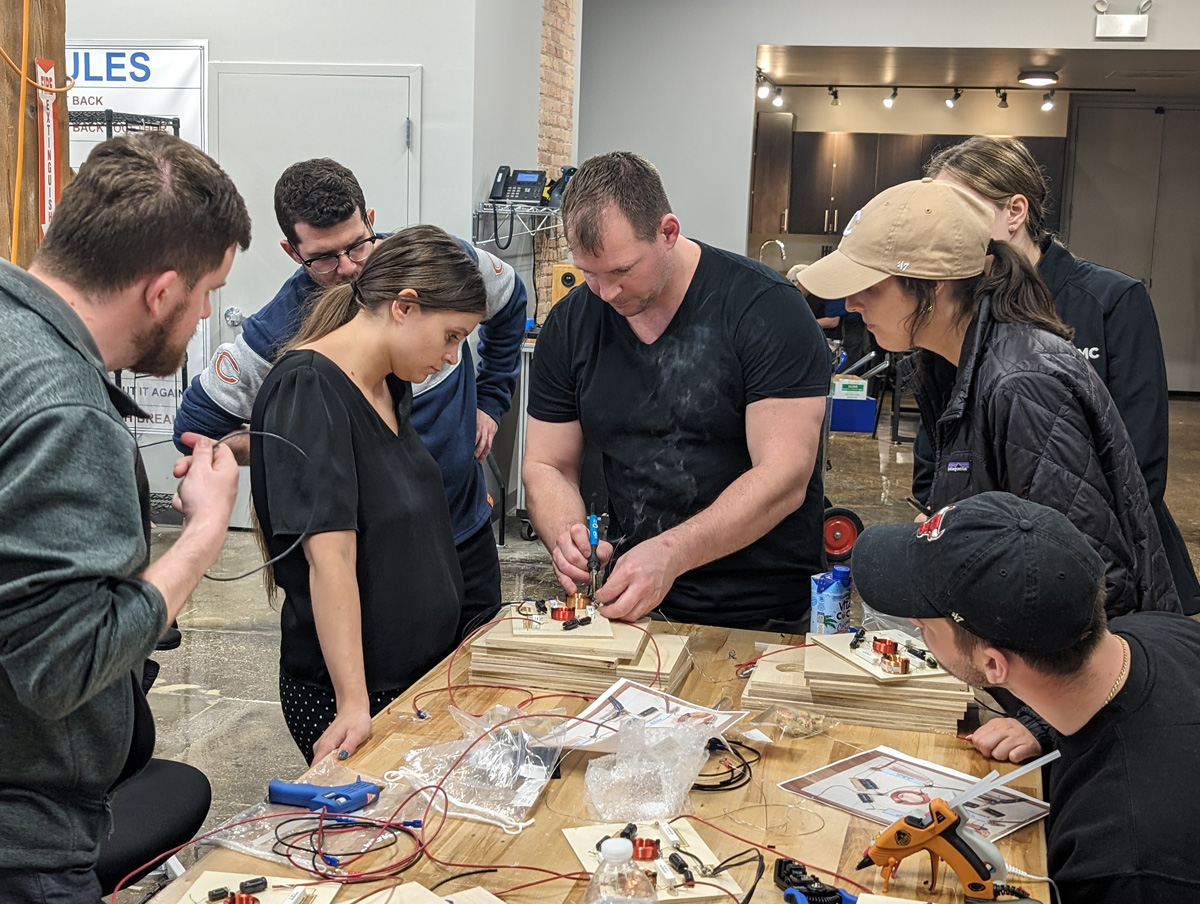
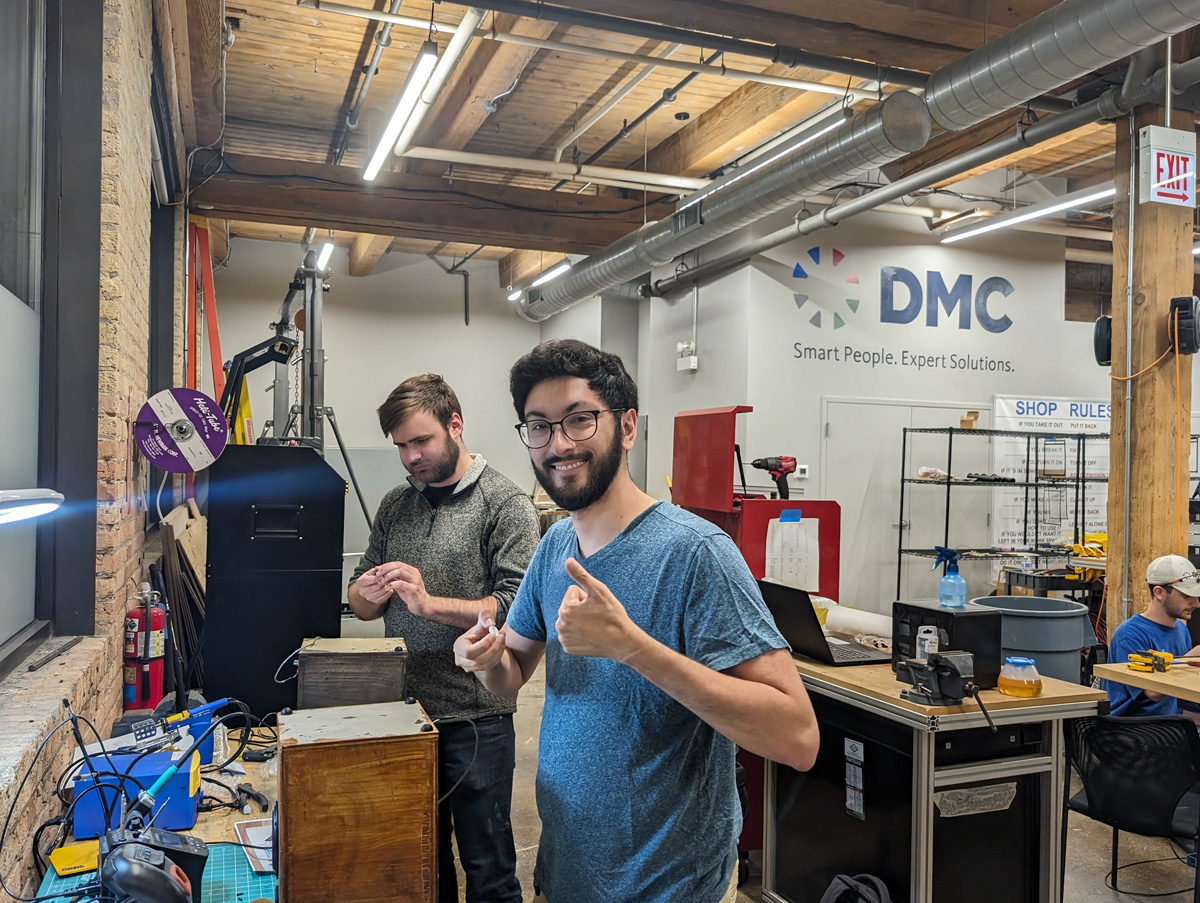
On the day of our activity fund event, attendees started by attaching their components to the back panel & soldering them together. The shop staff was around to show people how to solder and help them along with the process.
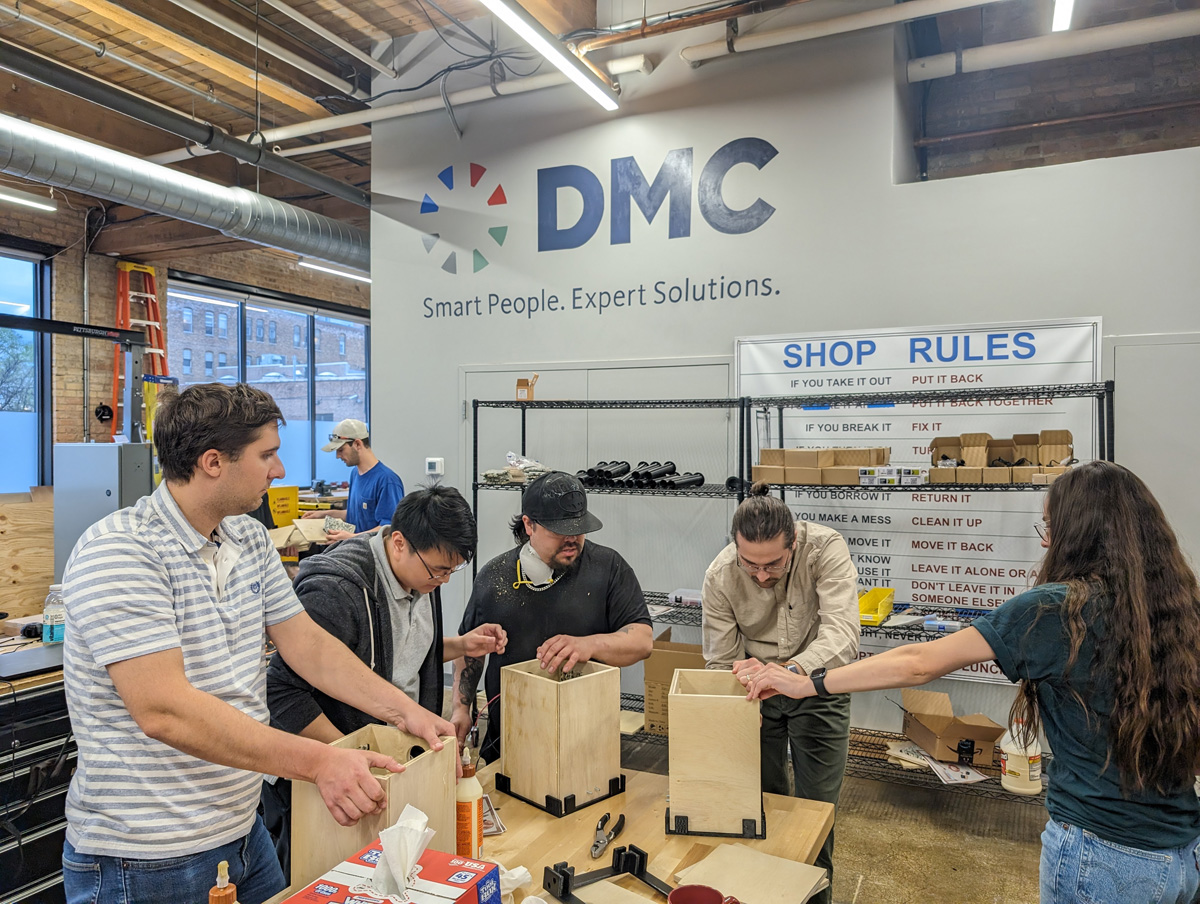
After attaching foam to the side panels to help with reverb, attendees glued their boxes together using templates that the Fabrication Studio designed and 3D printed to keep the panels square. Our shop staff nailed the box together.
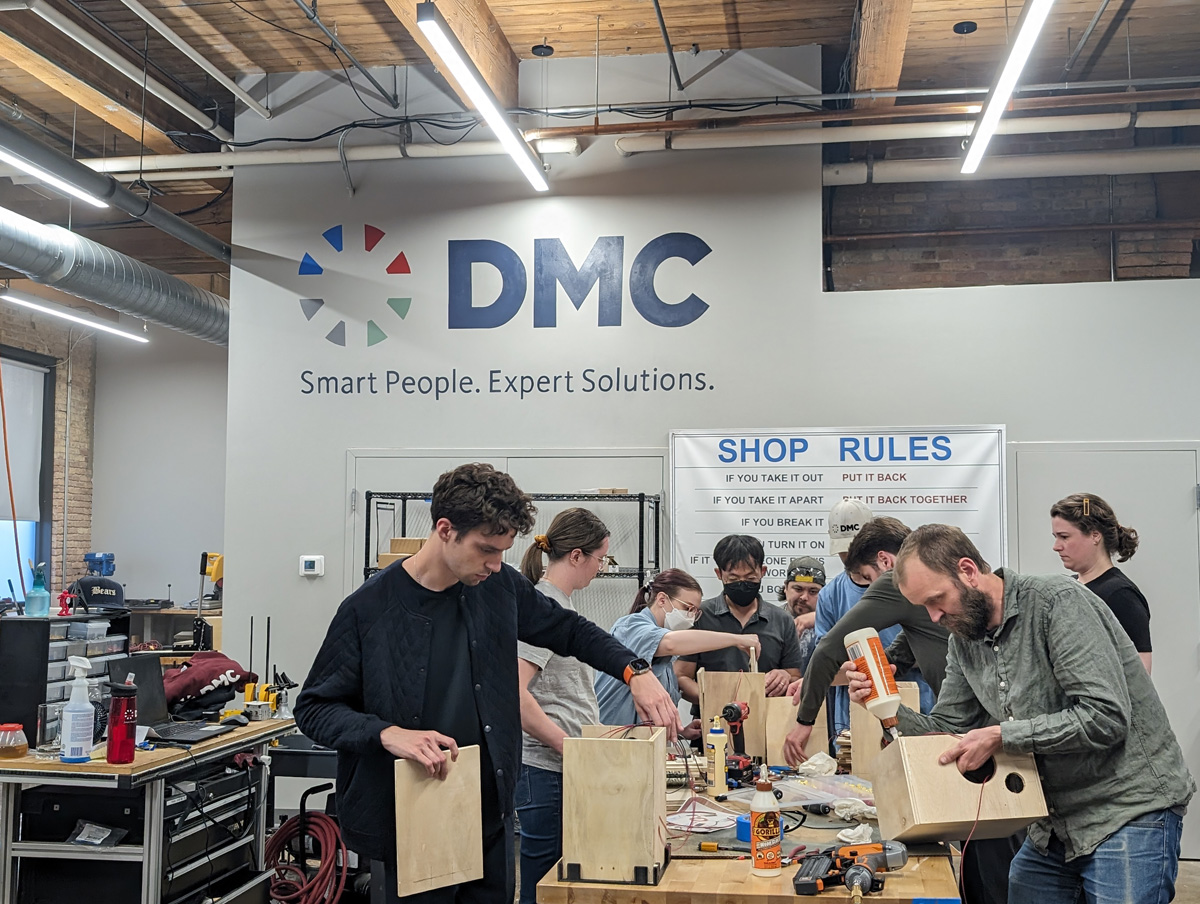
Ozzie Santillan routered the edges and Marcus Williams sanded the boxes down for a smooth, professional finish. They were covered in sawdust but were very good sports about it.

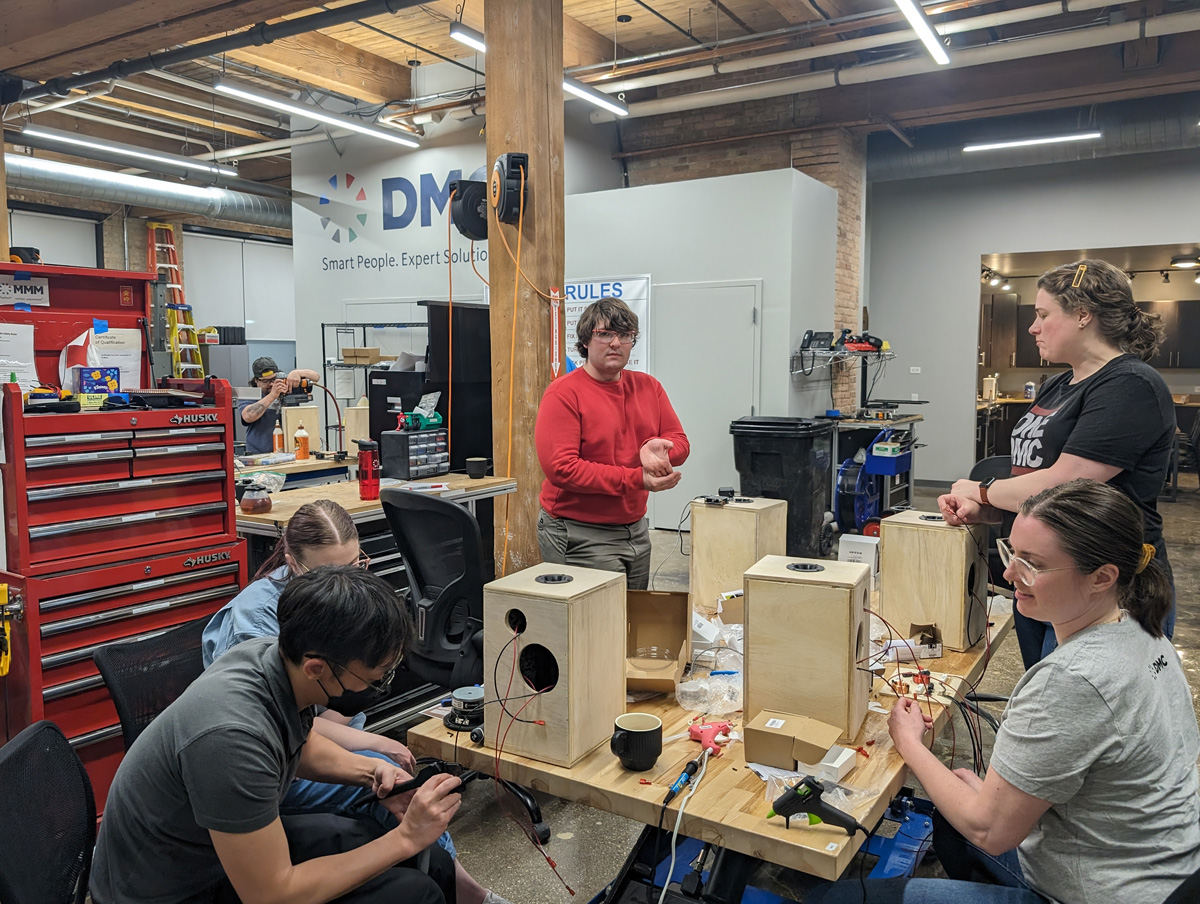
Some people chose to stain their speakers while others moved on to the final steps of installing the drivers, port, amplifier, power supply, and feet.
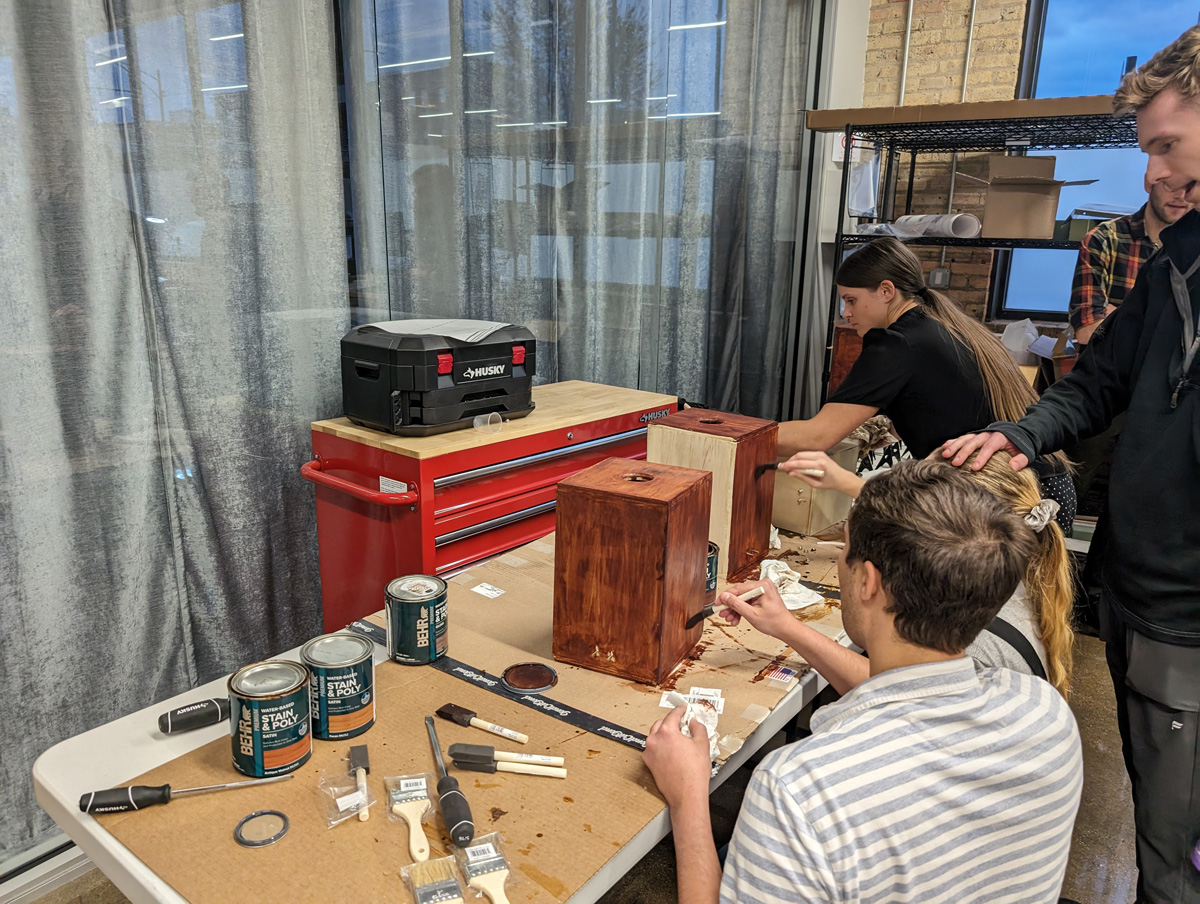
At this point we started hearing music pop up from the speakers all over. This was really fun to hear. The diversity in music choice was super interesting to hear as just about every genre of music was on display.
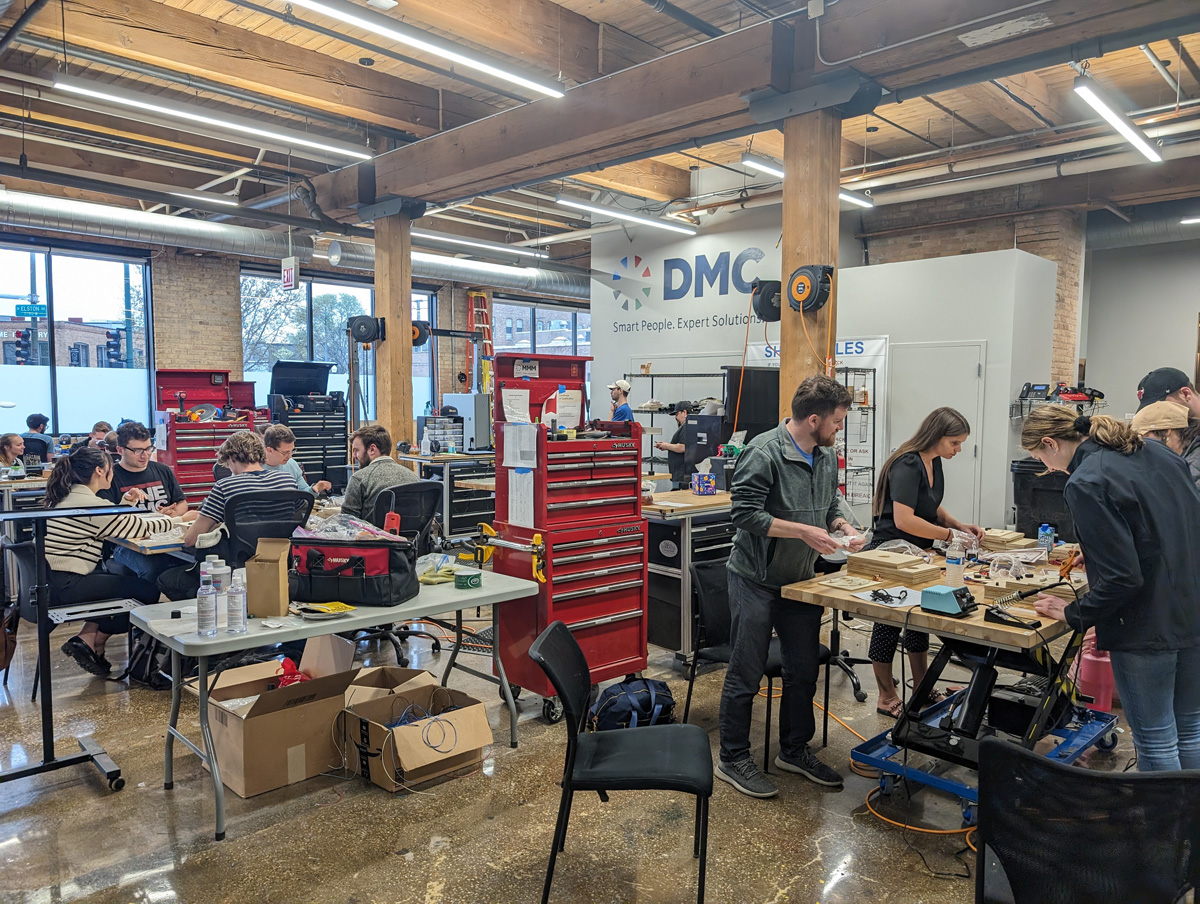
The assembly took two nights and was a huge undertaking, but it was really fun and it showcased the ability of the Fabrication Studio to everyone involved. We utilized a lot of manufacturing tenets and processes, from 3D printing to wood working. The kitting of the parts and the workflow layout was an exercise in manufacturing assembly line timing. It was a blast to share one of my hobbies with my colleagues and to learn and build together!
Learn more about DMC’s company culture and check out our open positions!